Here we show the basic steps to create your own 3D objects. This tutorial assumes, that you have already configured the printer settings and have created matching slicer settings.
Step 1
You need a 3D model that you want to print. You can create this yourself or download a ready-made file.
With the following programs, you can create your own 3D objects:
You have to export the files in the correct format. Currently STL files and OBJ files are supported.
Alternatively you can download already finished 3D objects from these repositories:
Step 2
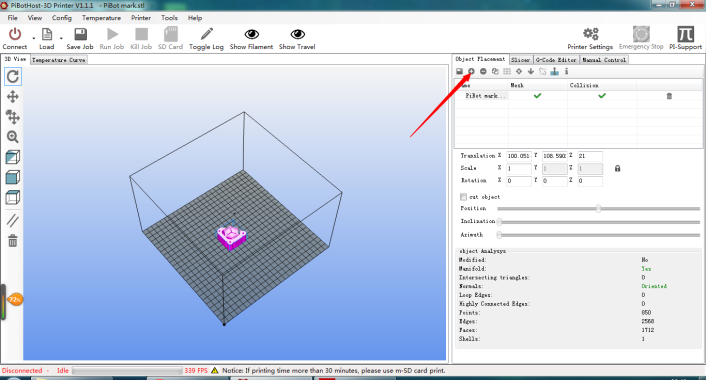
Open the desired STL or OBJ files in PiBot 3D Printer Software and arrange the models on a virtual print plate.

Step 3
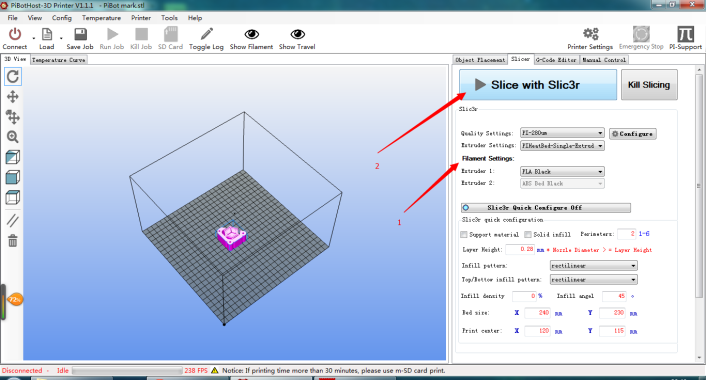
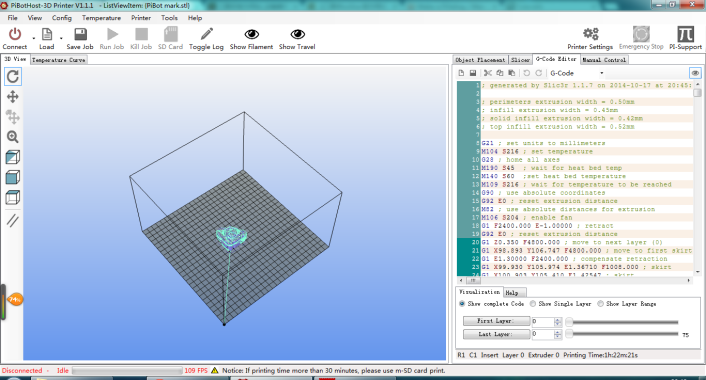
Slice the the models and compute a path for the printer head. This is done by a slicing software, which converts the model into g-code, the language your printer speaks.

Step 4
Send the g-code to your printer or copy the code to a sd card, which you can insert into your printer. That’s all you need to print your own 3D objects. Your printer will do the rest for you.

